Create A Skin Texture In Photoshop - Smooth Skin Technique - Photoshop Tutorial From Dave Seeram
"Faking" Skin Texture - Photoshop Tutorial By Dave Seeram
When retouching portraits, depending on the particular style of effect you are trying to achieve with your final image, you may need to get rid of a model’s natural skin texture entirely and, well... “fake it!” Certain styles of portraiture require a smooth and almost surreal glowing quality to them, so just how can you achieve a natural looking skin texture in Photoshop? Jump in with me and let’s create some fake skin!
Step 1
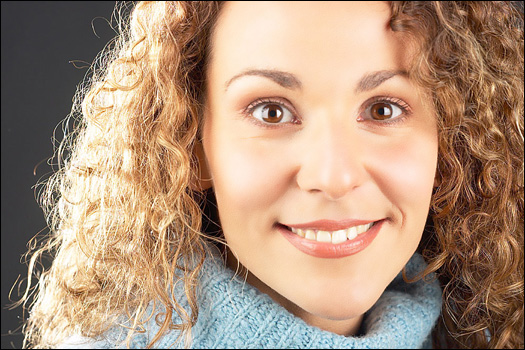
In this tutorial we are going to use this image of a model as shown here. Although the original image is quite nice, we are going to attempt to achieve a more smooth look to her skin by “faking” her skin texture.

The first thing we need to do, is to remove all texture from her skin and really smooth out the tones in the image. To do this, duplicate your background layer (so that we are not working on the original) by pressing Control-J (PC) or Command-J (Mac).
Step 2
With the duplicated layer now active, go to the filter menu: Filter > Blur > Surface Blur, and use a setting that smooths out all texture from the skin. At this point, you don’t need to worry if you lose detail from other areas such as the eyes or hair, we will restore any lost detail in a moment. The goal is to focus on the skin and smooth it out completely. The settings I used were: Radius: 5 pixels and Threshold: 15 pxiels
Here is a look at what your smoothed out skin should now resemble. Note the loss of detail in the eyes, mouth, and hair. Our next step is to recover this detail.

Step 3
To bring back the detail in the previously mentioned areas, we are going to use a layer mask. Rather than painting back in the detailed areas (on the mask) it’s much easier to paint “out” the detail over the skin.
To create a “hide all” layer mask, click on the “Create layer mask” icon at the bottom of the layers palette while holding down the Alt (PC) or Option (Mac) key.
This creates a black layer mask, which hides the whole smoothed out layer. Using a soft edged brush, paint with white (on the layer mask) over the skin areas, revealing the smoothed skin while avoiding detailed areas like the eyes, mouth, and hair.

Step 4
Create a new blank layer on top of your existing layers by clicking on the “Create New Layer” icon at the bottom of the layers palette. We want to fill this layer with a 50% grey tone, which is done by going to the menu: Edit > Fill...
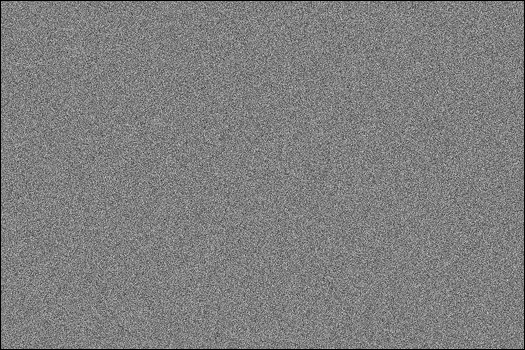
For “Contents” select “50% Grey” from the drop down menu, and leave the blending mode set to normal. On this new grey layer, we are going to simulate the skin texture by adding some noise. Go to the filter menu: Filter > Noise > Add Noise...
I used an amount of 20% (increase for higher res images), Gaussian, and Monochromatic checked ON.

Step 5
To create a realistic skin texture, here’s what we do next. Sharpen the noise slightly with the unsharp mask filter. I used settings of 50%, Radius: 0.5 pixels, and Threshold: 0
Now here’s the “magic moment” that happens in all Photoshop tutorials!
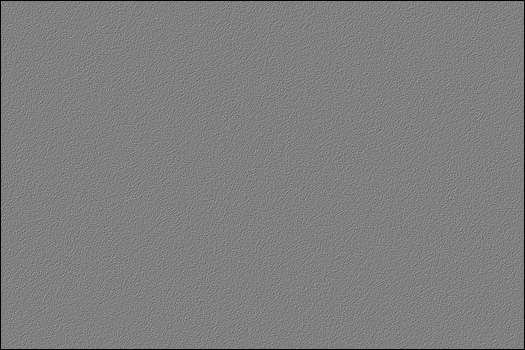
Go to the filter menu: Filter > Stylize > Emboss... I used settings of 135 degrees, Height: 1 pixel, and Amount of 80%
This creates a very nice even looking skin texture, but I know what you are thinking - it’s all grey! For another (more impressive) “magic moment”, change the blending mode of this layer to “Soft Light.”

Now we a nice even fake skin texture which we’ll now refine. Lower the opacity of this layer down to 50%. Remember how we created that layer mask back in step 3? We need the same type of mask to only show the skin texture over the skin areas. In fact, we need the exact same mask!
To make a copy of this layer mask and apply it to your new “fake” skin textured layer, simply hold down the Alt (PC) or Option (Mac) key, and drag the layer mask from your smoothed out layer onto your new fake skin layer and voila! You’ve got your skin texture only showing on the skin areas of your image!
Have a look at the before/after examples here to see the difference.


这个教程是比较常用的保留皮肤质感的一种方法。大家要有更好的方法,也欢迎来交流。。


